Drew Barrymore Coffee Maker Instruction Manual: A Comprehensive Guide
Welcome! This manual provides detailed instructions for your Drew Barrymore coffee maker, ensuring delicious coffee and optimal performance. Enjoy a beautiful brewing experience!
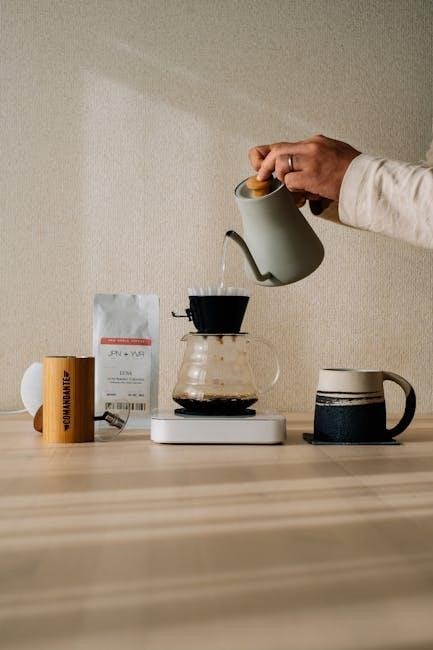
Embrace a beautiful morning ritual! The Drew Barrymore coffee maker isn’t just an appliance; it’s a statement piece designed to elevate your daily coffee experience. Boasting over 3,400 reviews, with a significant portion being five-star ratings, this machine combines aesthetic appeal with exceptional brewing capabilities.
It offers a delightful alternative to single-serve pod machines, providing a more eco-friendly and flavorful approach to enjoying your favorite coffee. This guide will walk you through every step, from initial setup to advanced features, ensuring you unlock the full potential of your new coffee companion.
Unboxing and Initial Setup
Let’s get started! Carefully remove your Drew Barrymore coffee maker from the packaging, ensuring all components are present. Before first use, wipe down the exterior with a damp cloth. Rinse the carafe, filter basket, and water reservoir with warm, soapy water and dry thoroughly.
Place the coffee maker on a stable, level surface. Plug it into a grounded outlet. We recommend running a full brewing cycle with just water to cleanse the system and prepare it for brewing your first delicious pot of coffee.
Component Identification
Familiarize yourself with the parts! Your Drew Barrymore coffee maker consists of several key components. These include the water reservoir, responsible for holding the brewing water; the carafe, which collects the brewed coffee; and the warming plate, keeping your coffee at the perfect temperature.

You’ll also find a filter basket, designed to hold paper or reusable filters, and various brew strength selection options. Understanding each part ensures proper operation and maintenance of your new appliance.
Water Reservoir
Essential for brewing! The water reservoir is a removable component, typically located at the back or side of the coffee maker. It features clear water level markings, indicating the amount of water needed for each desired cup. Always fill with fresh, filtered water for the best-tasting coffee.
Ensure the reservoir is securely placed before starting a brew cycle to prevent leaks. Regular cleaning prevents mineral buildup and maintains optimal performance.
Carafe and Warming Plate
Keeping coffee warm! The glass carafe collects the brewed coffee. It’s designed to fit securely on the warming plate, maintaining coffee temperature after brewing. The warming plate automatically activates once brewing is complete.
Be cautious, as the carafe and warming plate become hot during and after use. Always use the carafe handle when handling. Regular cleaning prevents staining and ensures optimal warming performance.
Filter Basket and Filter Types
Essential for brewing! The filter basket securely holds the coffee filter during the brewing process. This coffee maker is compatible with standard #4 cone-shaped paper filters. Reusable filters are also an eco-friendly option.
Ensure the filter is properly seated in the basket to prevent grounds from overflowing. Regularly clean the filter basket to remove coffee residue and maintain optimal flavor extraction. Proper filter use is key to a delicious brew!
Brewing Your First Pot of Coffee
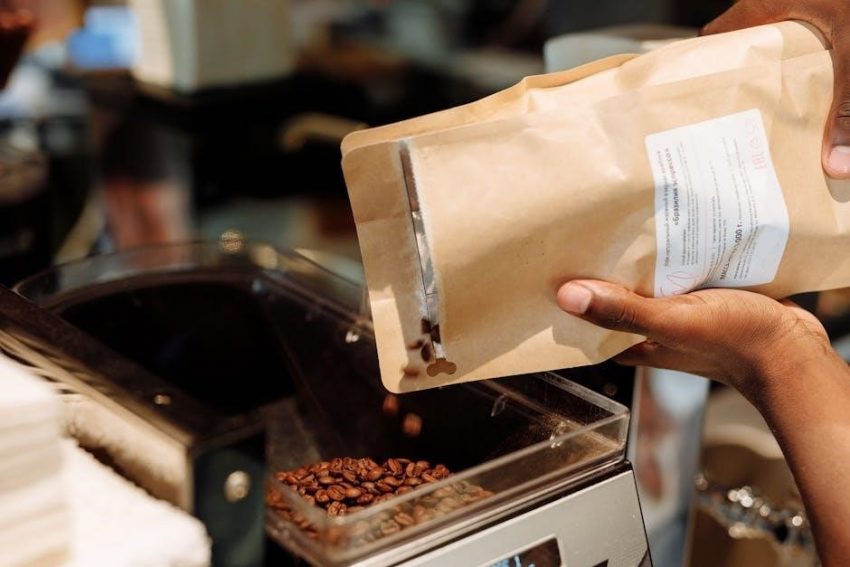
Let’s get started! Begin by ensuring the coffee maker is clean and properly set up. This initial brew helps season the machine. Fill the water reservoir with fresh, filtered water to your desired level. Add your favorite ground coffee to the filter basket – a general guideline is two tablespoons per six ounces of water.
Select your preferred brew strength and press the power button to initiate the brewing cycle. Enjoy the aroma of freshly brewed coffee!
Adding Water and Coffee Grounds
Precise measurements are key! Carefully pour fresh, filtered water into the water reservoir, noting the level markings for your desired pot size; For optimal flavor, use approximately two tablespoons of ground coffee per six ounces of water. Adjust to your taste preference – bolder brews require more grounds.
Ensure the filter is properly seated in the filter basket before adding the coffee. This prevents grounds from entering your brewed coffee.
Selecting Brew Strength (Bold, Classic, Gold)
Customize your cup! The Drew Barrymore coffee maker offers three brew strength options: Bold, Classic, and Gold. ‘Gold’ delivers a rich, intense flavor for coffee enthusiasts. ‘Classic’ provides a balanced, everyday brew. ‘Bold’ offers a stronger, more robust taste.
Simply press the brew strength button to cycle through the options until your desired setting illuminates. Experiment to discover your perfect strength!
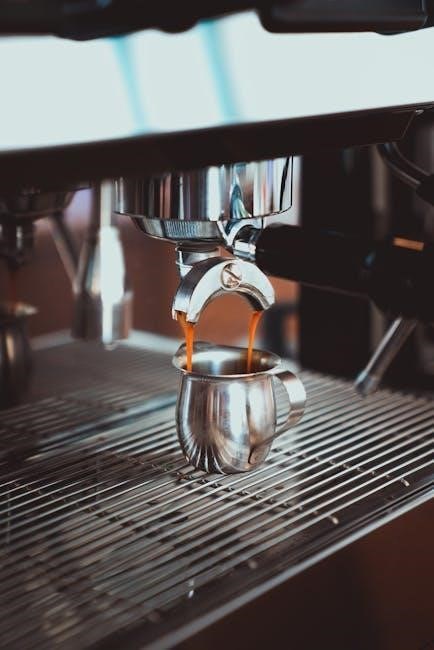
Starting the Brewing Cycle
Begin brewing! Once water, grounds, and brew strength are selected, press the power button to initiate the brewing cycle. The indicator light will illuminate, signaling the process has begun.
Allow the coffee maker to complete the cycle undisturbed. The machine will automatically switch to the ‘Keep Warm’ function upon completion. Enjoy freshly brewed coffee! Remember to exercise caution as the carafe and warming plate will be hot.
Understanding the Control Panel
Navigating the controls is simple! The control panel features intuitive buttons for power, brew strength selection (Bold, Classic, Gold), and programming the timer. The power button activates the machine, indicated by a clear light.
Explore brew strength options to customize your coffee. The programmable timer allows for automated brewing, ensuring a fresh pot awaits you. Familiarize yourself with each function for optimal use and a delightful coffee experience.
Power Button and Indicator Light
The power button initiates all brewing functions. A single press activates the coffee maker, and the indicator light illuminates, confirming operation. This light remains lit throughout the brewing cycle and during the ‘Keep Warm’ phase.
If the light doesn’t illuminate, ensure the machine is properly plugged in. A steady light indicates readiness, while a flashing light may signal an error or descaling need. Always power off after use!
Brew Strength Selection
Customize your coffee’s flavor profile with the brew strength selection feature. Choose between ‘Bold’ for a robust, intense taste, ‘Classic’ for a balanced everyday brew, and ‘Gold’ for a smoother, more delicate cup.
Simply press the corresponding button to select your preferred strength before starting the brewing cycle. Experiment to discover your ideal flavor! The selected strength is often indicated by an illuminated icon on the control panel.
Programmable Timer Function
Wake up to the aroma of freshly brewed coffee with the programmable timer! This feature allows you to set a delayed brewing start time, ensuring a hot pot is ready when you desire. Access the timer function through the control panel, setting both the hour and minute for your preferred brew time.
Confirm your settings, and the coffee maker will automatically begin brewing at the programmed time. Enjoy!
Cleaning and Maintenance
Regular cleaning ensures optimal performance and longevity of your Drew Barrymore coffee maker. Daily rinsing of the carafe and filter basket is crucial. Periodically, descale the machine to remove mineral buildup, using a descaling solution or diluted vinegar. A clean machine delivers the best-tasting coffee!
Consistent maintenance prevents issues and keeps your brewer functioning beautifully for years to come;
Daily Cleaning Procedures
After each use, promptly discard used coffee grounds and rinse the filter basket thoroughly with warm, soapy water. Wash the carafe with soap and water, ensuring all coffee residue is removed. Wipe down the exterior of the coffee maker with a damp cloth.
These simple steps prevent buildup and maintain optimal flavor. A quick daily clean keeps your brewer fresh!
Descaling the Coffee Maker
Regular descaling is crucial for maintaining peak performance and extending the life of your Drew Barrymore coffee maker. Fill the water reservoir with a descaling solution (vinegar and water, or a commercial descaler) following product instructions.
Run a full brewing cycle without coffee grounds. Repeat with fresh water to rinse thoroughly. Descale every 1-3 months, depending on water hardness;
Carafe and Filter Basket Cleaning
After each use, wash the carafe and filter basket with warm, soapy water. Rinse thoroughly to remove any residue. For stubborn stains in the carafe, a paste of baking soda and water can be effective.
The filter basket is typically dishwasher safe (top rack recommended), but check your model’s specific instructions. Ensure both are completely dry before reassembling for the next brew.
Troubleshooting Common Issues
If your coffee maker won’t turn on, check the power cord and outlet. A slow brewing cycle might indicate mineral buildup – descaling is recommended. Weak coffee could result from insufficient grounds or a coarse grind.
Bitter coffee often stems from using too much coffee or stale grounds. Refer to the cleaning section for solutions, and always ensure proper water levels for optimal brewing.

Coffee Maker Not Turning On
If the unit fails to power on, first verify the power cord is securely plugged into a functioning outlet. Test the outlet with another device to confirm it’s receiving power. Inspect the power cord for any visible damage, such as fraying or cuts.
Ensure the coffee maker’s power switch is fully engaged. If issues persist, consult the warranty information or contact customer support for assistance.
Coffee Brewing Too Slowly
Slow brewing can indicate mineral buildup, restricting water flow. Descale your coffee maker following the cleaning instructions in this manual. Ensure the filter basket isn’t overfilled with coffee grounds, as this can also impede water passage.
Verify the water reservoir is properly seated and not causing any blockage. If the problem continues, contact customer support for further troubleshooting guidance.
Coffee Tasting Weak or Bitter
Weak coffee often results from insufficient coffee grounds; increase the amount used for your desired strength. Conversely, bitter coffee can stem from using too much coffee or grounds that are too finely ground. Experiment with different coffee-to-water ratios and grind sizes.
Ensure fresh, quality coffee beans are used, as stale beans contribute to off-flavors. Regularly cleaning the machine also prevents residue buildup impacting taste.
Advanced Features & Settings
Explore enhanced brewing options! The Pause and Pour function allows you to briefly interrupt the brewing cycle for a quick cup. The Automatic Shut-Off feature provides safety and energy conservation after a set period. Customize your experience with the adjustable Keep Warm function duration, maintaining optimal temperature.
These settings elevate your coffee routine, offering convenience and control over every brew. Discover personalized perfection with these advanced capabilities!
Pause and Pour Function
Need a cup mid-brew? The Pause and Pour function temporarily halts the brewing process, allowing you to safely remove the carafe and pour a cup without making a mess. Simply place the carafe back on the warming plate within 30 seconds to resume brewing seamlessly.
This convenient feature offers flexibility, ensuring you can enjoy a fresh cup whenever the craving strikes, without interrupting the full pot cycle!
Automatic Shut-Off Feature
Safety and energy conservation are key! Your Drew Barrymore coffee maker is equipped with an automatic shut-off feature. After the keep-warm cycle concludes (typically two hours, adjustable – see Keep Warm Function Duration), the unit will automatically power down.
This prevents overheating and provides peace of mind, especially if you accidentally forget to turn the coffee maker off. It’s a smart feature for modern living!
Keep Warm Function Duration
Enjoy hot coffee, your way! The Drew Barrymore coffee maker’s keep-warm function maintains your brewed coffee’s temperature for a set duration. By default, this is typically two hours, ensuring a consistently warm pot.

However, some models allow you to adjust this duration via the control panel. Check your specific model’s settings to customize the keep-warm time to suit your preferences and prevent over-heating.
Brewing Specialty Coffee Drinks
Expand your coffee horizons! Beyond classic brewing, your Drew Barrymore coffee maker unlocks a world of specialty drinks. Explore the convenient cold brew functionality for a smooth, less acidic concentrate – perfect for iced coffee creations.
Simply combine coarsely ground coffee with cold water and let it steep. For iced coffee, brew a stronger pot and pour it over ice. Experiment with flavors and enjoy café-quality beverages at home!
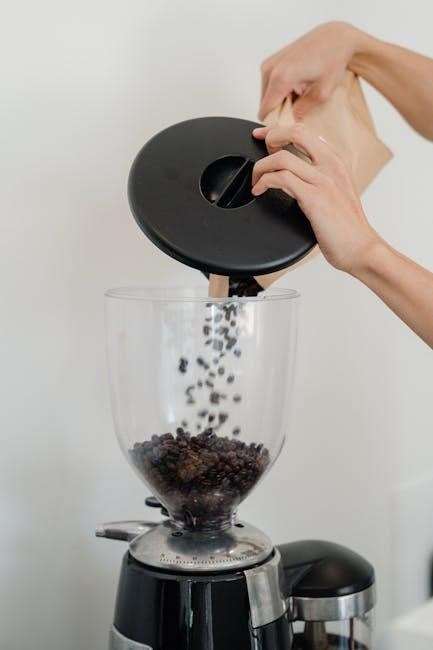
Cold Brew Functionality
Unlock smooth, rich flavor! The Drew Barrymore coffee maker’s cold brew feature delivers a remarkably different coffee experience. Combine coarsely ground coffee with cold, filtered water within the carafe. Allow the mixture to steep in the refrigerator for 12-24 hours, depending on desired strength.
Once steeped, simply filter the concentrate. This method extracts less acidity, resulting in a naturally sweeter, incredibly smooth cold brew concentrate – ideal for various iced coffee drinks!
Iced Coffee Preparation
Beat the heat with refreshing iced coffee! Brew a stronger pot of coffee using the “Bold” setting. Allow it to cool slightly before pouring it over a glass filled with ice. For a delightful twist, try combining your brewed coffee with flavored syrups or a splash of milk or cream.
Alternatively, use the cold brew concentrate created earlier, diluted with water or milk, for an even smoother, less acidic iced coffee experience. Enjoy!
Safety Precautions
Prioritize safety during operation! Always ensure the coffee maker is placed on a stable, heat-resistant surface. Never immerse the appliance in water or any other liquid. Avoid touching hot surfaces like the carafe and warming plate during or immediately after brewing.
Unplug the coffee maker when not in use and before cleaning. Keep the power cord away from hot surfaces. Supervise children when the appliance is in operation.
Warranty Information
Your Drew Barrymore Coffee Maker is covered by a one-year limited warranty against defects in materials and workmanship from the date of purchase. This warranty does not cover damage resulting from misuse, accidents, or unauthorized repairs.
To make a warranty claim, please retain your proof of purchase and contact customer support. The warranty provides repair or replacement at the manufacturer’s discretion.
Frequently Asked Questions (FAQ)
Q: Why isn’t my coffee maker brewing? Ensure it’s plugged in and the power button is activated. Q: Can I use any filter type? Yes, standard cone filters are compatible. Q: How do I clean the carafe? Hand wash with warm, soapy water. Q: What does ‘Gold’ brew strength mean? It delivers a richer, bolder flavor.

Q: Is the carafe dishwasher safe? Refer to the included documentation for specifics.
Where to Find Additional Support
For immediate assistance, visit the official Drew Barrymore appliance website. There, you’ll find a comprehensive support section with troubleshooting guides and FAQs. You can also reach their customer service team via phone or email, details provided on the website. Online communities and forums dedicated to small kitchen appliances often offer helpful tips and shared experiences.
Don’t hesitate to explore video tutorials on platforms like YouTube for visual guidance.
Comparing Models: Sage Green, Black Stainless, etc.
Drew Barrymore’s coffee maker line features various stylish finishes, including Sage Green and Black Stainless Steel. Functionally, all models offer similar brewing capabilities – Bold, Classic, and Gold settings – and programmable timers. The primary difference lies in the aesthetic appeal, allowing you to choose a color that complements your kitchen décor.
Consider the material; stainless steel offers durability, while Sage Green provides a vintage charm.