

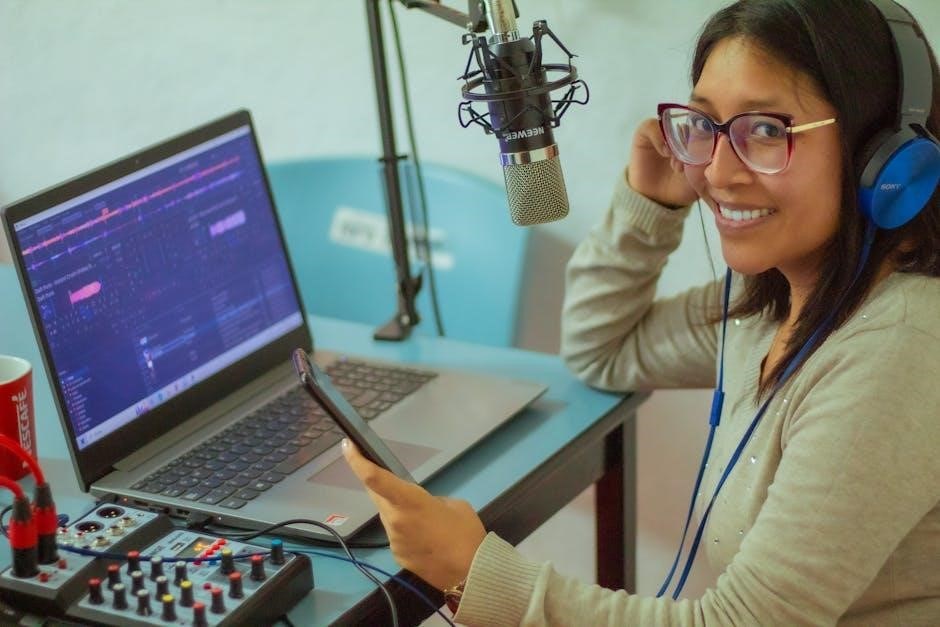
Digital voice recorders are versatile devices designed to capture high-quality audio with ease. They offer portable solutions for recording lectures‚ meetings‚ and interviews‚ ensuring clear sound reproduction.
1.1 Overview of Digital Voice Recorders
Digital voice recorders are electronic devices designed to capture and store audio with high fidelity. They are widely used for lectures‚ interviews‚ and meetings‚ offering portability and ease of use. Modern models often include built-in microphones‚ adjustable settings‚ and memory storage for efficient file management and playback capabilities.
1.2 Key Features and Benefits
Digital voice recorders offer high-quality audio recording‚ long battery life‚ and large storage capacities. They feature multiple recording formats‚ noise reduction‚ and voice activation. These devices are portable‚ user-friendly‚ and ideal for professional and personal use‚ ensuring clear and efficient audio capture in various settings.
Getting Started with Your Digital Voice Recorder
Begin by unboxing and charging your device. Familiarize yourself with basic controls and settings to ensure smooth operation. Follow the manual for initial setup guidance.
2.1 Unboxing and Initial Setup
Carefully unbox your digital voice recorder‚ ensuring all accessories are included. Charge the device fully before first use. Read the manual to understand basic functions and settings. Familiarize yourself with the buttons and display. Ensure the device is updated with the latest firmware for optimal performance.
2.2 Charging the Device
Connect the digital voice recorder to a USB port using the provided cable. Ensure the device is fully charged before first use. Avoid overcharging to maintain battery health. The device may show charging indicators like LED lights or on-screen notifications. Charge until the battery is full‚ typically within 2-3 hours.
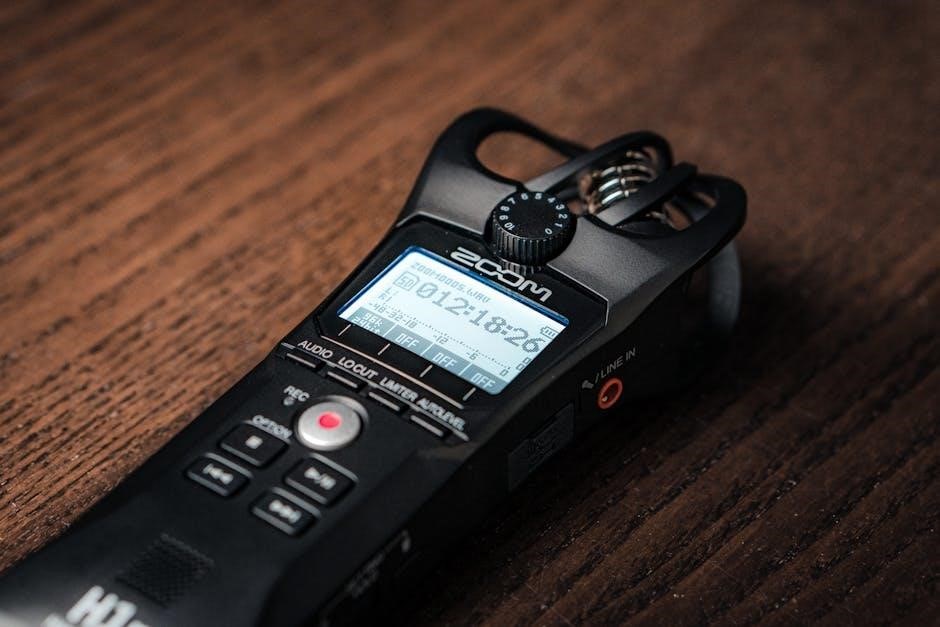
2.3 Basic Navigation and Controls
Use the REC button to start/stop recordings. Navigate menus with the UP/DOWN keys. Adjust volume with dedicated buttons. The MODE key switches between recording and playback. Use the ERASE button to delete files. Ensure the device is properly connected via USB for file transfers. LED indicators show recording‚ charging‚ or low battery status.
Recording Settings and Options
Select recording formats like WAV or MP3‚ adjust bitrates for quality‚ use internal or external microphones‚ and enable noise reduction for clearer audio. Customize settings for optimal recordings.
3.1 Selecting the Recording Format
Selecting the right recording format is crucial for audio quality and storage efficiency. Common formats include WAV for high-quality recordings and MP3 for compressed files. Choose WAV for professional-grade sound or MP3 for smaller file sizes. Adjust settings like bitrate and sample rate to optimize recordings based on your needs. Access format options through the device menu for customization.
3.2 Adjusting the Bit Rate and Quality
Adjusting the bit rate and quality ensures optimal audio recording. Higher bit rates (e.g.‚ 128 kbps or 192 kbps) deliver better sound quality but increase file size. Lower bit rates (e.g.‚ 64 kbps) reduce file size but may compromise clarity. Use the device menu to select bit rate and quality settings that balance your needs for sound fidelity and storage capacity.
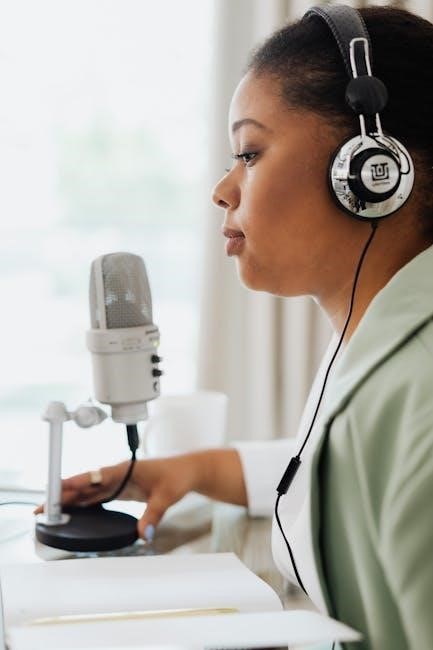
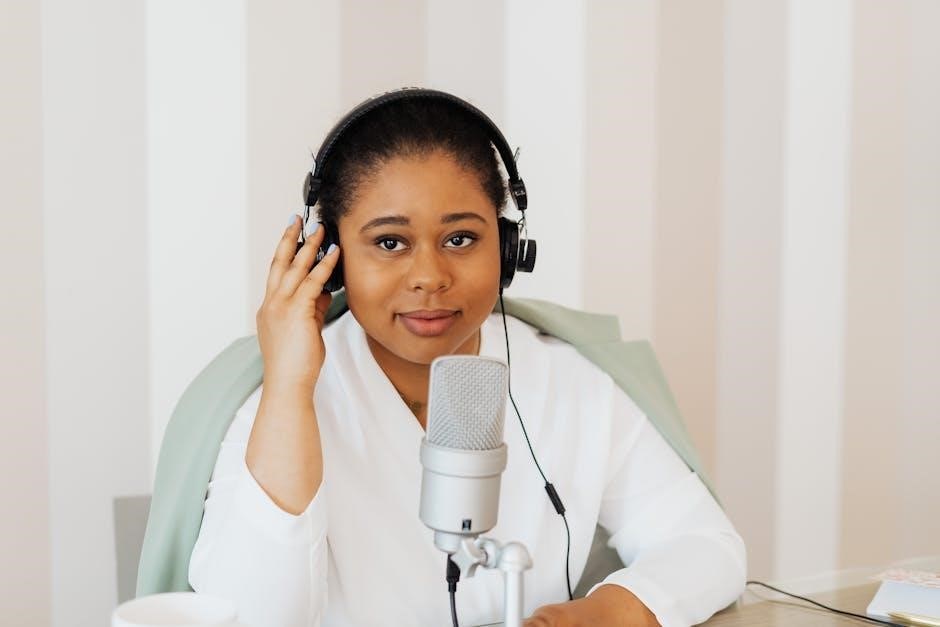
3.3 Using the Built-in Microphone vs. External Microphones
Digital voice recorders come with built-in microphones for convenience‚ suitable for general recording needs. For enhanced audio quality‚ external microphones can be connected‚ offering better sound capture in noisy environments or for specific recording scenarios like interviews or lectures. Choose the option that best fits your recording situation and desired sound quality.
Managing Your Recordings
Digital voice recorders allow easy file management‚ enabling users to organize‚ transfer‚ and store recordings efficiently. This section covers methods for transferring files to computers and deleting or formatting the device to maintain optimal performance and storage capacity.
4.1 File Management and Organization
Digital voice recorders often include file management features‚ allowing users to organize recordings into folders and subfolders. Proper naming conventions‚ such as using dates or keywords‚ help maintain clarity. Regularly reviewing and deleting unnecessary files ensures efficient storage use and quick access to important recordings.
4.2 Transferring Files to a Computer
To transfer recordings‚ connect the recorder to your computer using a USB cable. Ensure the device is recognized‚ then access its storage. Drag and drop files to your computer or use software provided in the manual. Some models may require specific drivers for compatibility with Windows or Mac systems.
4.3 Deleting and Formatting the Device
To delete recordings‚ navigate to the file management menu and select the files to remove. Formatting the device erases all data and restores factory settings. Use the provided software or on-device options for formatting. Always transfer important files to a computer before formatting to prevent data loss.
Playback and Editing Features
Digital voice recorders offer playback options with adjustable speed and volume. Edit recordings by trimming or adding notes for organization and clarity‚ enhancing usability and efficiency.
5.1 Playing Back Recordings
Playing back recordings on your digital voice recorder is straightforward. Simply select the desired file from the list‚ and press the play button. Adjust volume or speed for optimal listening. Use built-in features like looping or jumping to specific points for efficient review. Organize files neatly for easy access and playback management.
5.2 Editing and Trimming Recordings
Digital voice recorders often include editing features that allow you to trim or cut recordings directly on the device. This helps refine your audio content by removing unwanted sections. Use the on-device controls or companion software to split‚ merge‚ or enhance recordings‚ ensuring your files are polished and ready for sharing or storage.
5.3 Adding Notes or Tags to Recordings
Digital voice recorders allow you to add notes or tags to recordings‚ enhancing organization and retrieval. Use the device’s interface or companion software to label files with dates‚ names‚ or descriptions. This feature helps categorize recordings‚ making it easier to locate specific audio files later for playback‚ editing‚ or sharing purposes.

Advanced Features and Customization
Digital voice recorders offer advanced features like voice activation‚ noise reduction‚ and customizable settings for tailored recording experiences in various environments and scenarios‚ enhancing efficiency and flexibility.
6.1 Voice Activation and Auto-Recording
Voice activation enables the recorder to start automatically when sound is detected‚ conserving storage and reducing manual operation. Auto-recording modes allow seamless capture of audio‚ ideal for hands-free use in meetings‚ lectures‚ or interviews‚ ensuring important moments are never missed with minimal user intervention required for optimal functionality and convenience.
6.2 Noise Reduction and Audio Enhancement
Digital voice recorders often include noise reduction features to minimize background interference‚ ensuring clearer audio. Advanced models offer adjustable settings to optimize sound quality in various environments. Audio enhancement tools‚ such as equalization‚ further refine recordings‚ making speech more intelligible and improving overall listening experiences for professional and personal use.
6.3 Customizing Settings for Specific Scenarios
Digital voice recorders allow users to customize settings for specific scenarios‚ such as lectures or interviews. Adjusting microphone sensitivity‚ recording formats‚ and noise reduction levels ensures optimal audio quality. Scenario-specific optimizations enhance versatility‚ making the device suitable for diverse environments and ensuring high-quality recordings tailored to individual needs.
Troubleshooting Common Issues
Digital voice recorders may encounter common issues such as recording failures or playback problems. Checking settings‚ ensuring proper connections‚ and updating firmware often resolve these concerns. Testing the device before important recordings is recommended to ensure functionality.
7.1 Resolving Recording Issues
Common recording issues include low volume‚ static‚ or no sound. Check microphone settings‚ ensure proper connection‚ and test in a quiet environment. Update firmware if necessary. Resetting to factory settings or reformatting the device can also resolve persistent problems. Refer to the manual for specific troubleshooting steps and solutions.
7.2 Fixing Playback Problems
Playback issues‚ such as no sound or distorted audio‚ can often be resolved by checking volume settings or ensuring proper file format compatibility. Verify headset connections and update firmware if necessary. Corrupted files may require re-recording. Consult the manual for detailed troubleshooting steps to address specific playback-related errors effectively.
7.3 Updating Firmware and Software
Regular firmware and software updates ensure optimal performance and fix bugs. Connect the device to a computer via USB‚ visit the manufacturer’s website‚ and download the latest version. Follow on-screen instructions to install updates. Restart the recorder after completion to apply changes and enjoy improved functionality and enhanced features.
Safety Precautions and Maintenance
Handle the device with care to avoid damage. Avoid extreme temperatures and moisture. Use original accessories to prevent malfunctions. Clean the recorder regularly with a soft cloth to maintain performance and longevity.
8.1 General Safety Guidelines
Handle the device with care to avoid damage. Avoid exposing it to extreme temperatures‚ moisture‚ or physical stress. Use only original accessories to prevent malfunctions. Keep the recorder away from children and flammable materials. Follow all safety instructions in the manual to ensure proper operation and longevity of the device.
8.2 Cleaning and Maintaining the Device
Gently clean the device with a soft‚ dry cloth to remove dust or fingerprints. Avoid using harsh chemicals or liquids‚ as they may damage the surface. Regularly inspect the microphone and speaker for dust buildup. Store the recorder in a protective case when not in use to prevent scratches or damage.
8.3 Avoiding Common Damages
Handle your digital voice recorder with care to avoid common damages. Prevent drops‚ moisture exposure‚ and extreme temperatures. Use only approved adapters to avoid electrical damage. Regularly clean the device and store it in a protective case. Follow the manual’s guidelines for safe operation and maintenance.
Warranty and Customer Support
Your digital voice recorder comes with a warranty. Refer to the manual for details. Contact customer support for assistance. Visit the official website for manuals‚ FAQs‚ and troubleshooting guides.
9.1 Understanding Your Warranty
Your warranty covers manufacturing defects for a specified period. Review the warranty terms in your digital voice recorder manual. It typically includes repair or replacement options. Keep your purchase receipt for validation. Refer to the manual for details on warranty duration and applicable conditions.
9.2 Contacting Customer Support
For assistance‚ contact customer support via the website or email. Visit the official site for support options. Check your digital voice recorder manual for contact details. Ensure to provide your device model and purchase date for efficient service. Online resources and downloadable manuals are also available for troubleshooting and guidance.
9.3 Accessing Online Resources and Manuals
Visit the official website to access digital voice recorder manuals in PDF format. Enter your model name in the search box to find specific guides. Online resources include troubleshooting tips‚ firmware updates‚ and detailed instructions for optimal device use. Refer to these materials for comprehensive support and to maximize your recorder’s functionality.